Erin's Artsy Sugar Cookies


Leave a comment

Bullets Over Broadway – THE COOKIES!!!

I haven’t posted in a while… mostly because I’ve been making a crap-ton of cookies. I decided to take a little break from instructional entries to show you a little bit of what I’ve been up to! My fabulously talented and hilarious friend Heléne Yorke recently opened Bullets Over Broadway the musical. Haven’t seen it yet? Get thee to the St. James Theatre, this show is truly great, and my girl SHINES as the ditzy mob girlfriend Olive. Dancing hot dogs and superbly talented boys in tap shoes? Sign me up.

heleneduo

It all started with cookies I made for her birthday.

Helene's Bday 2014

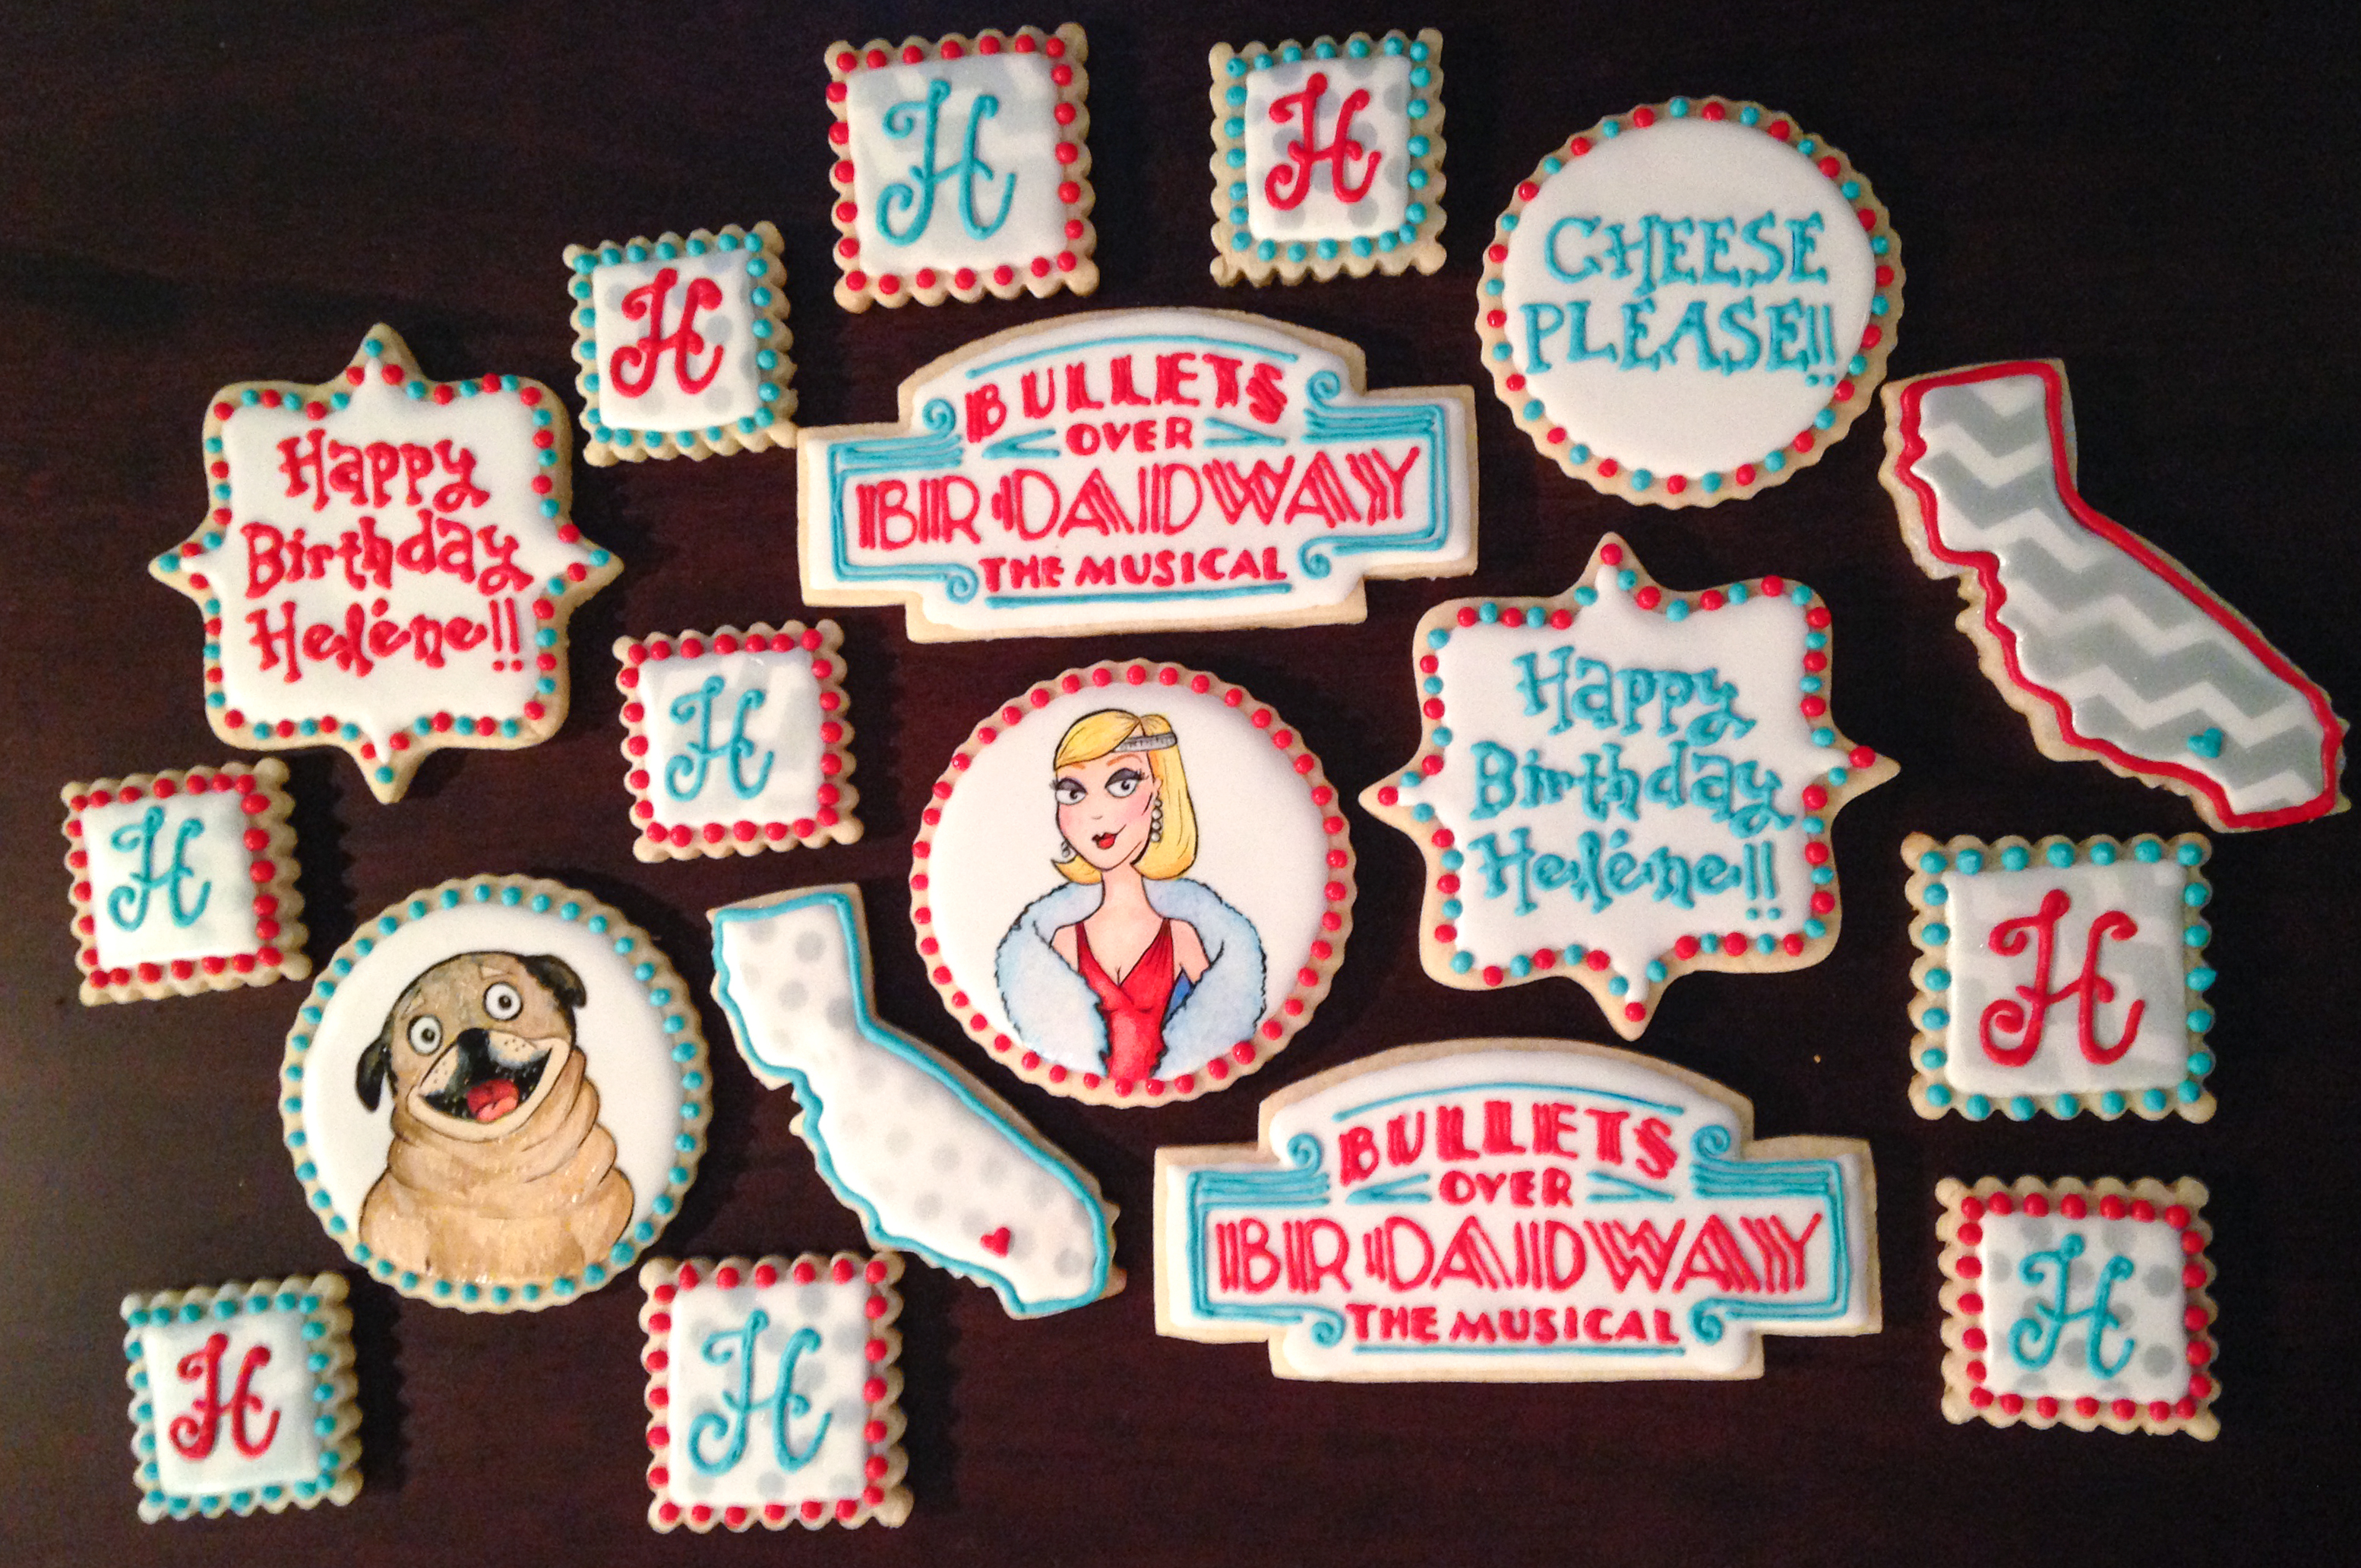
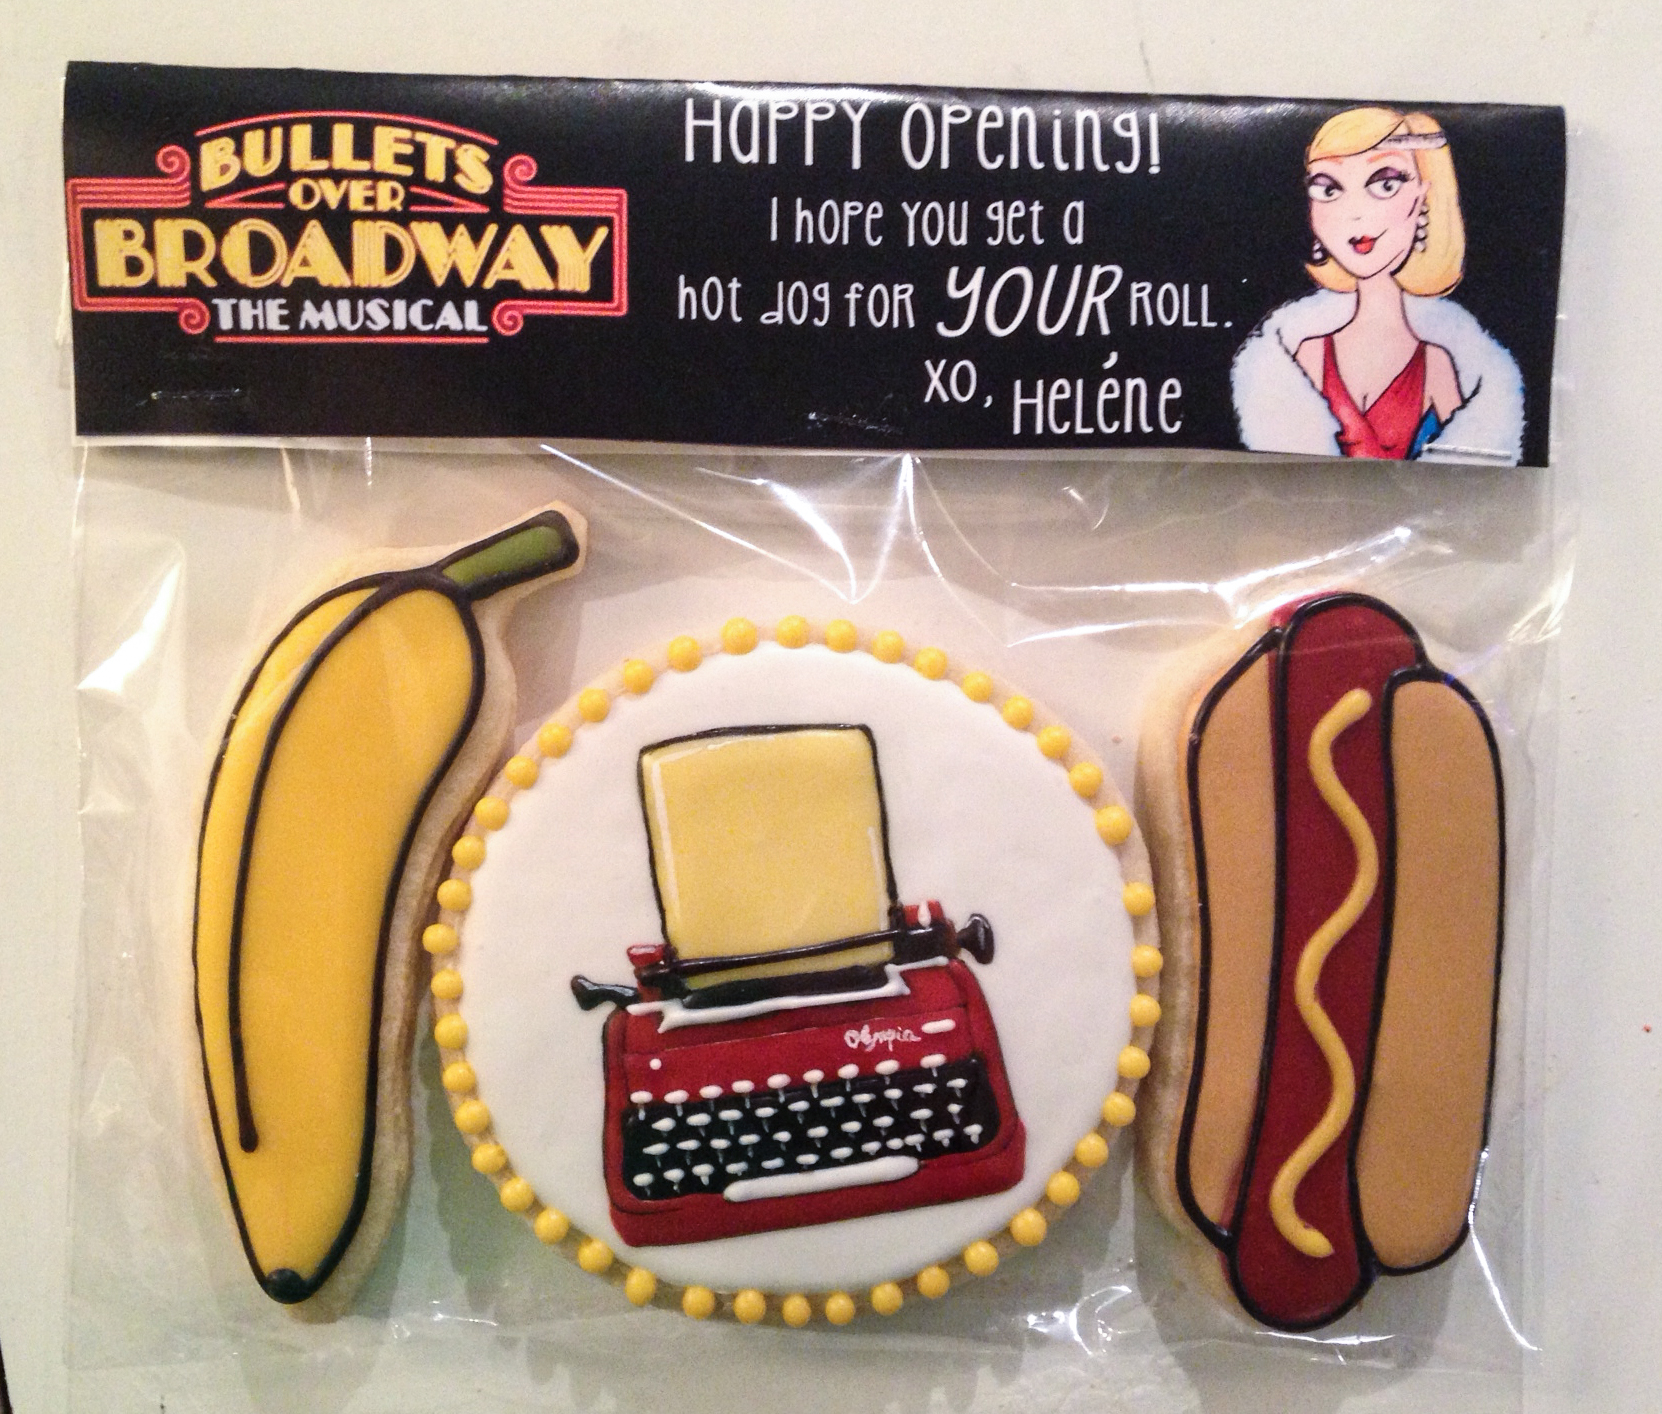
We collaborated to come up with cookies for her opening night gifts!… and she had a LOT of people who deserved cookie love, including Beth and Amanda from Just Desserts NYC!

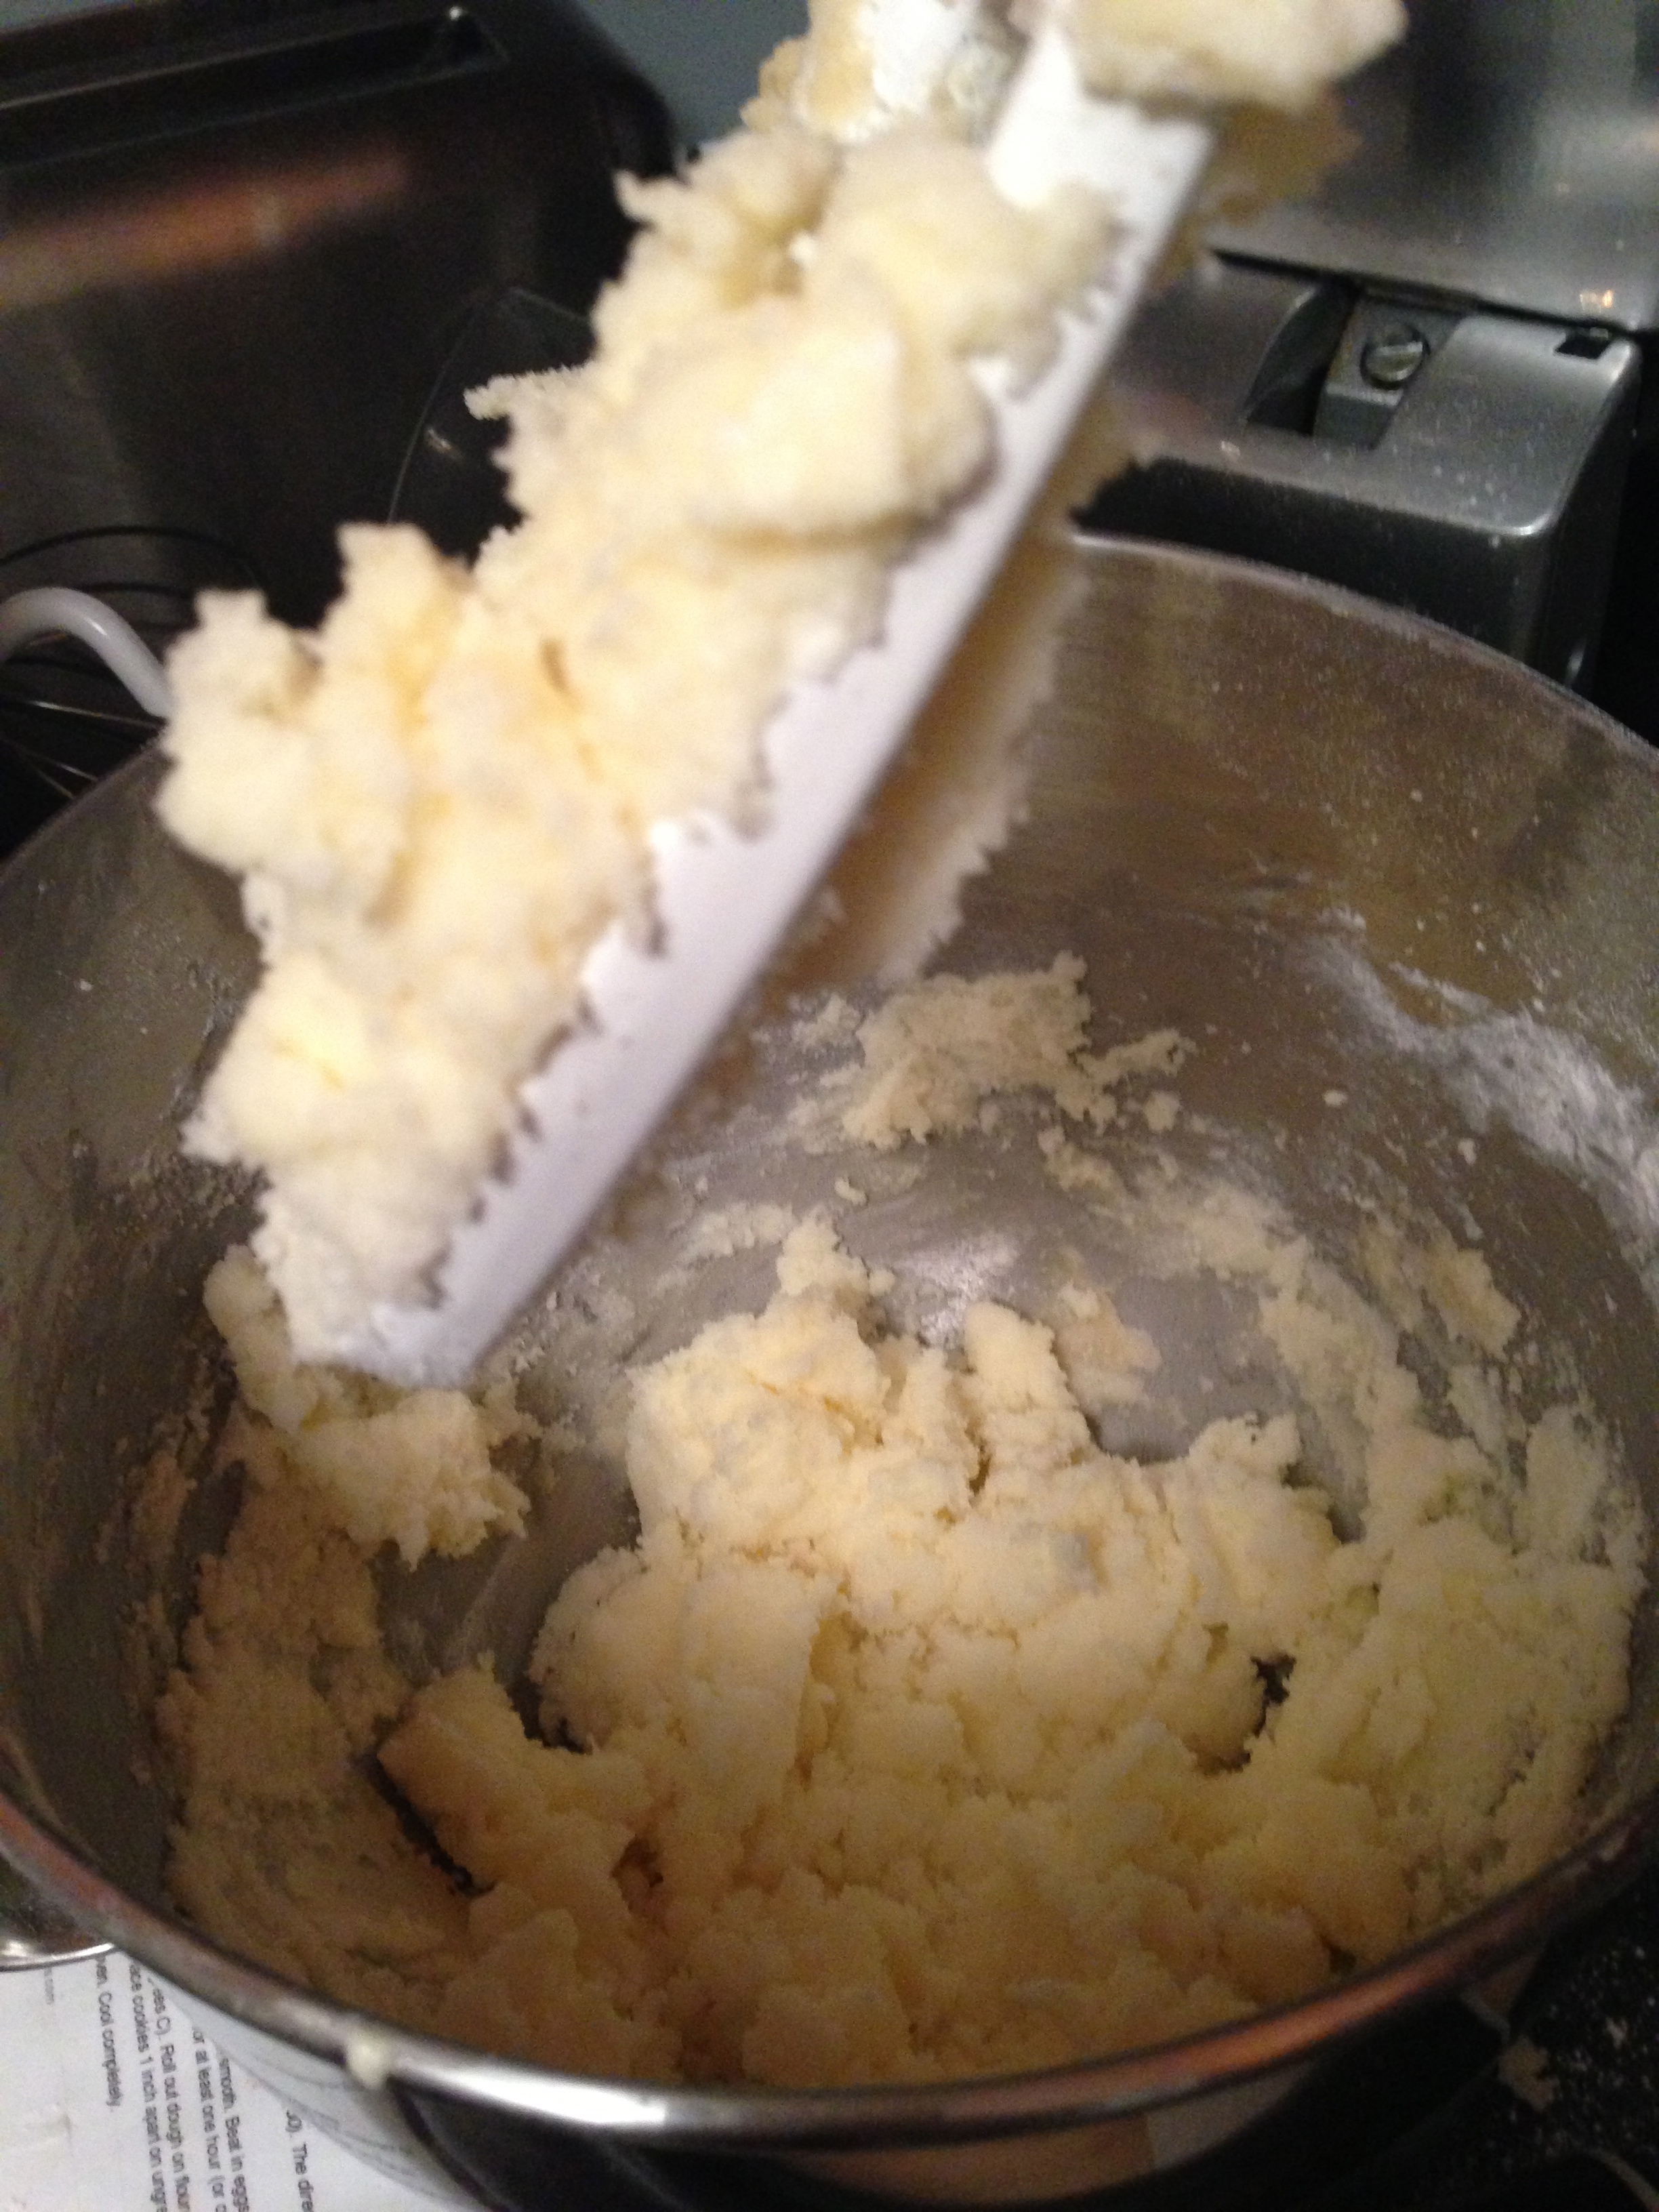
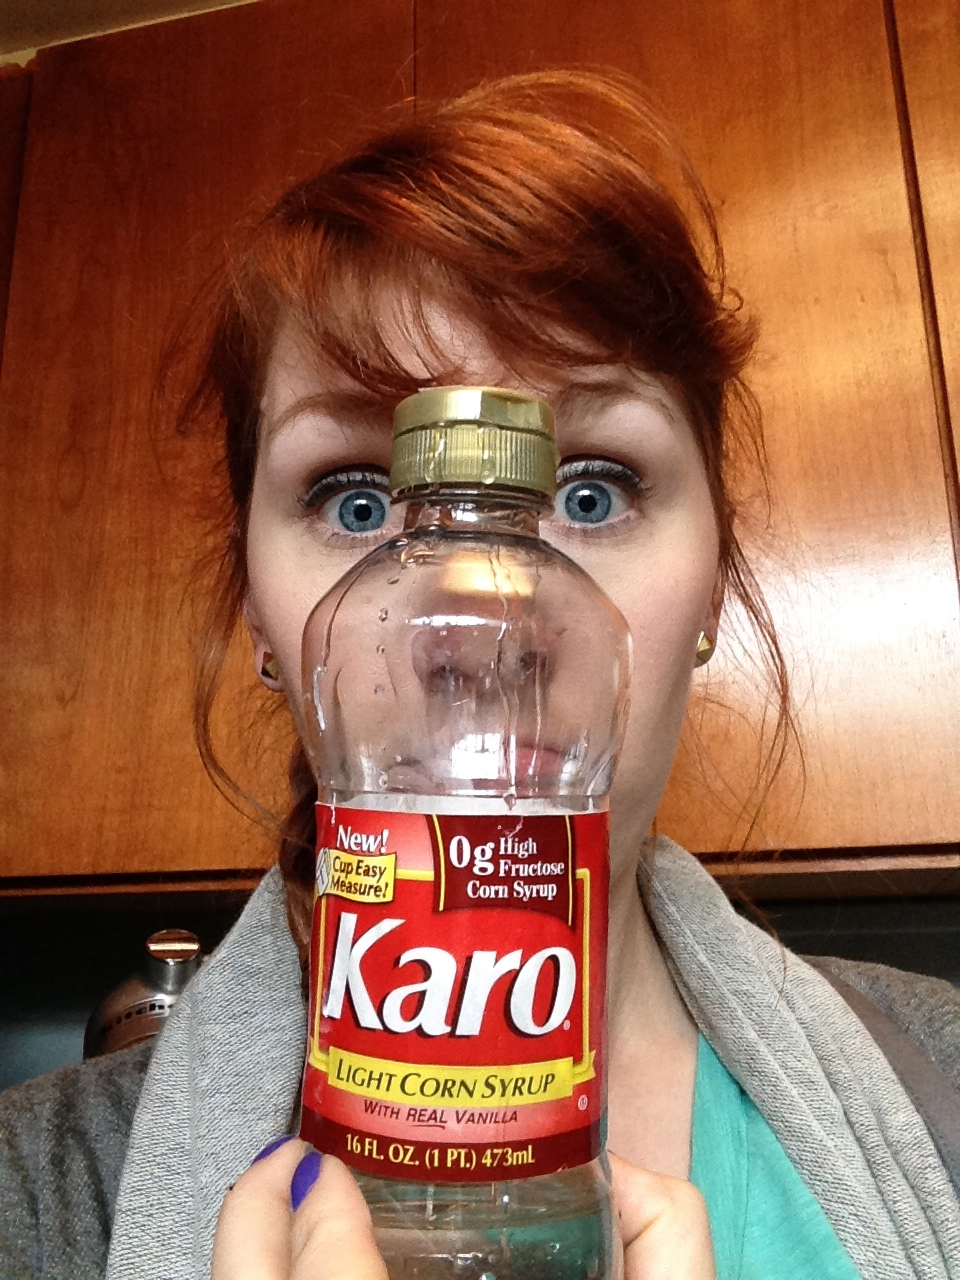
There were bananas, hotdogs, pomeranians, gangsters and sexy train conductors. ‘Cuz that’s a thing.  Oh, and there was very little sleep happening. My very helpful hubby would get crazed picture texts like this that meant “BRING MORE SUPPLIES!!!”.

cornsyrup

Without further ado, here are the cookies that were gifted to the amazing cast and crew of Bullets Over Broadway: The Musical. (Forgive the photo quality, this photoshoot had to be a quick one since these required every last second to create!)

bullets2

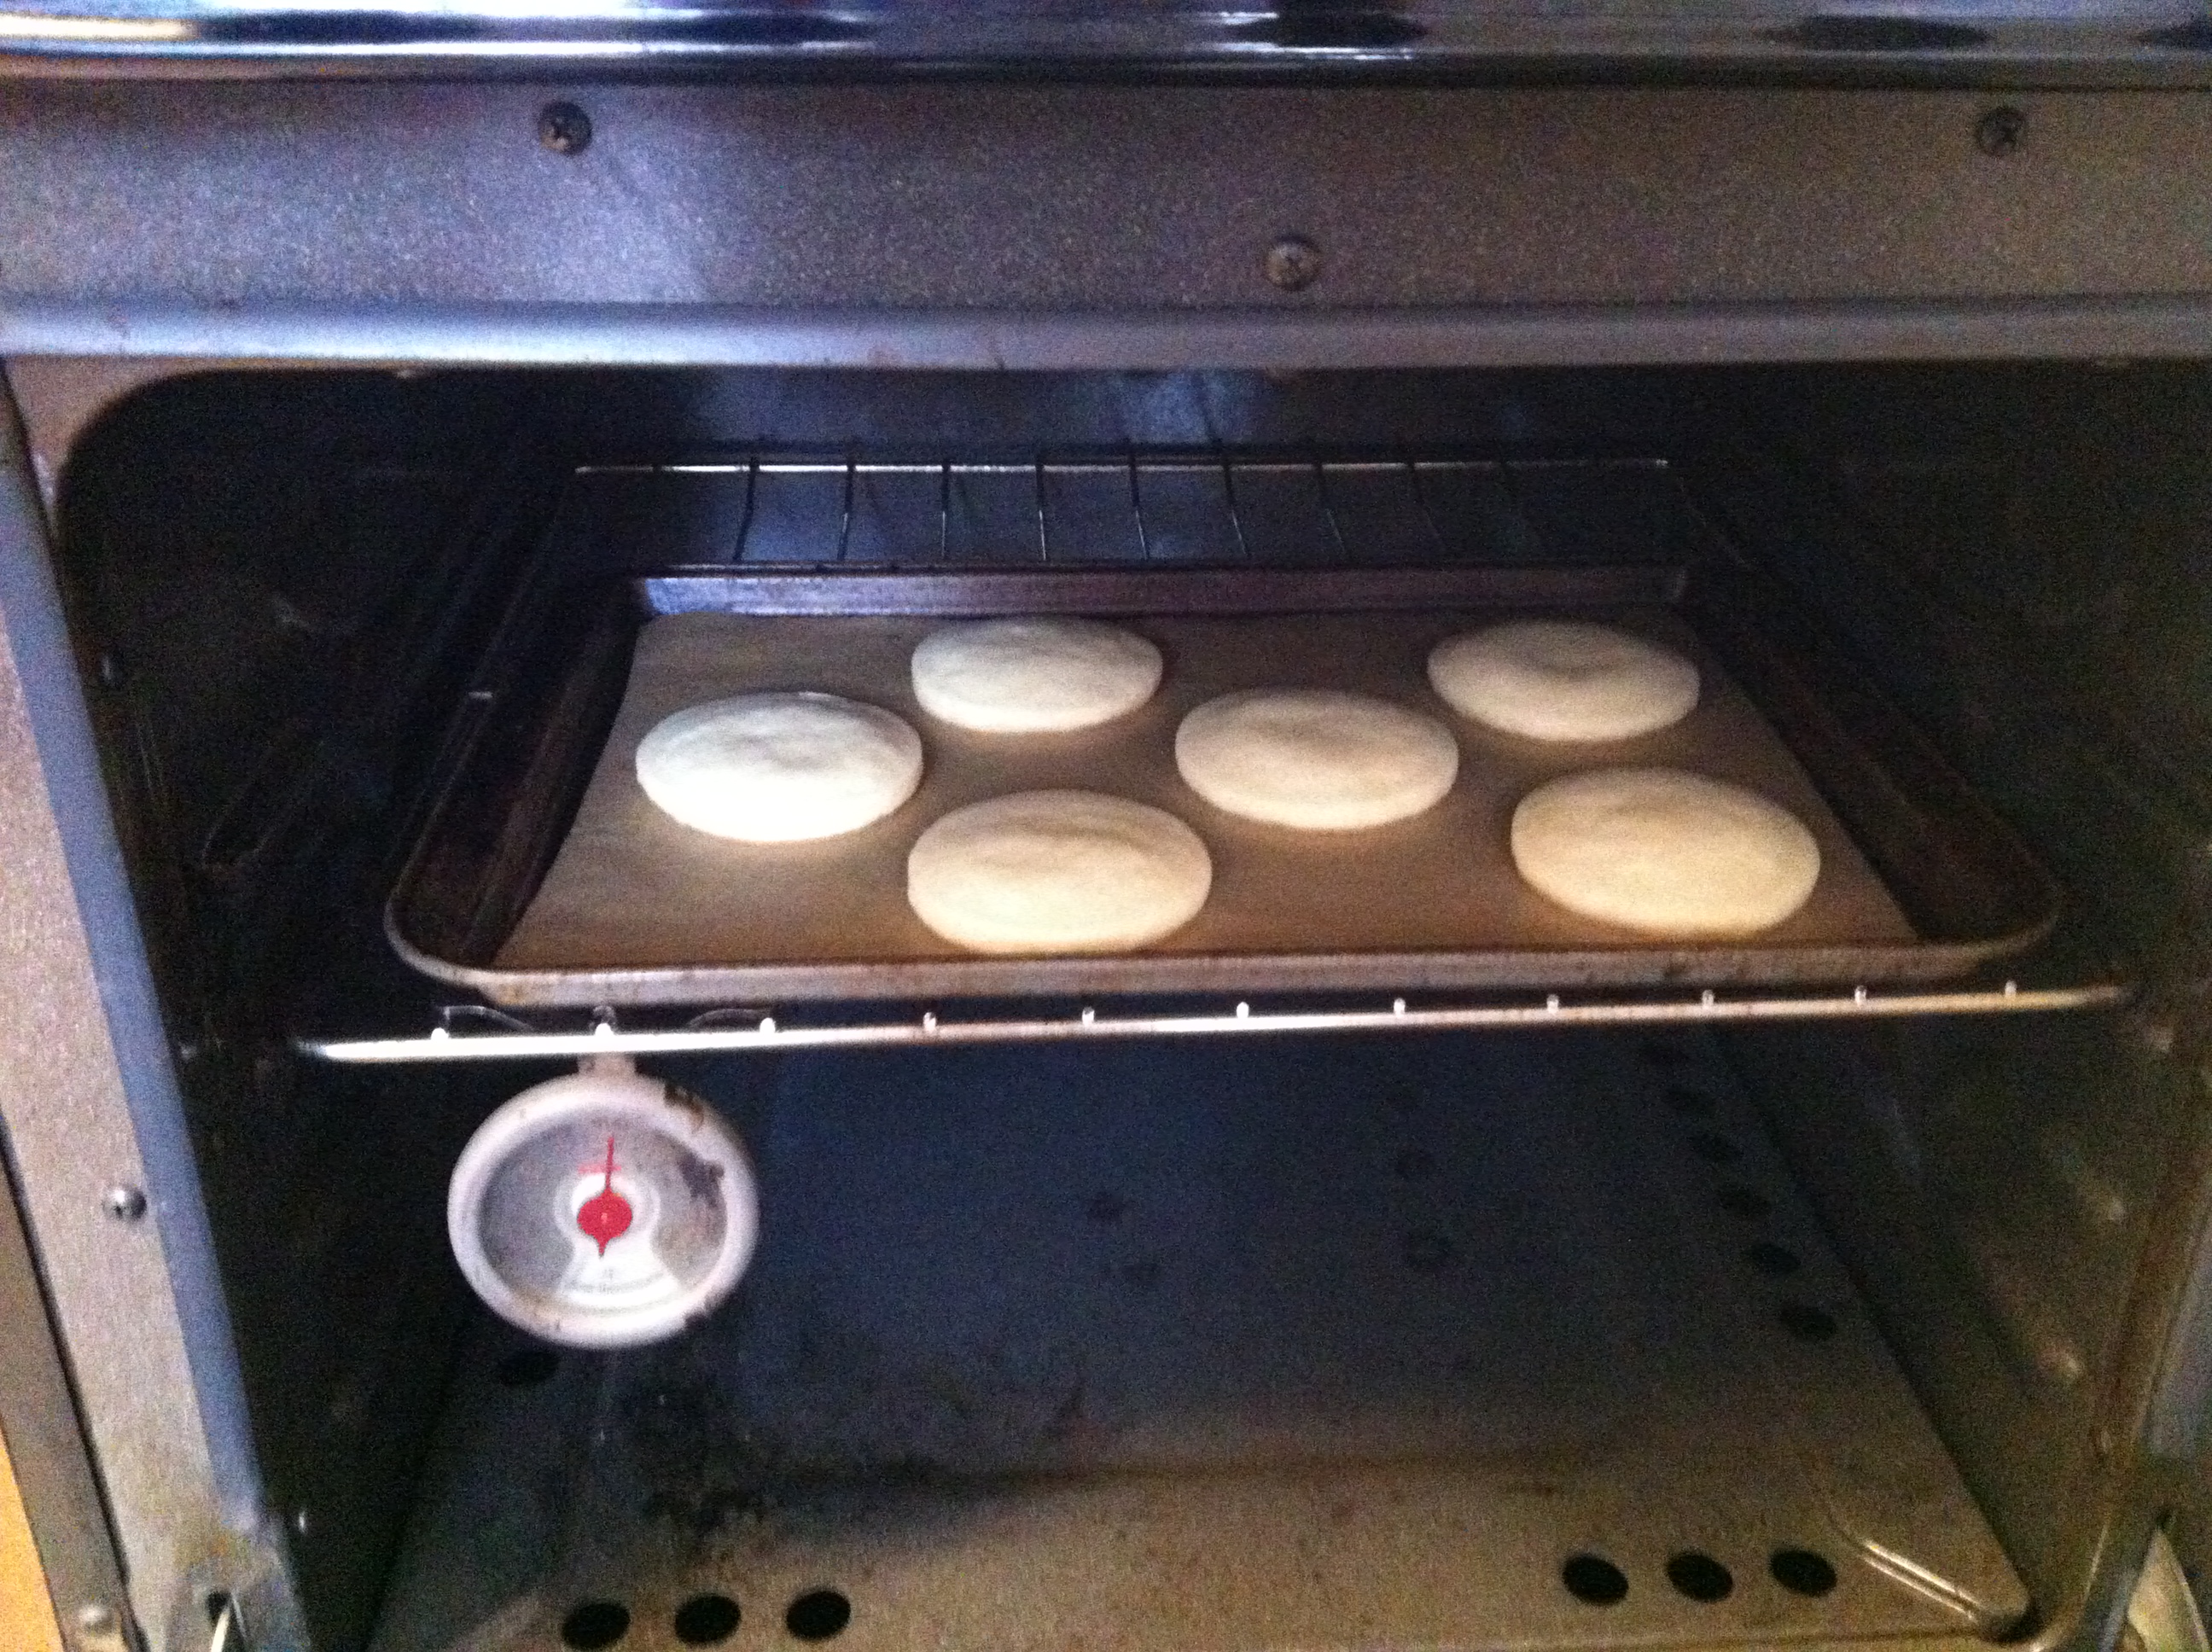
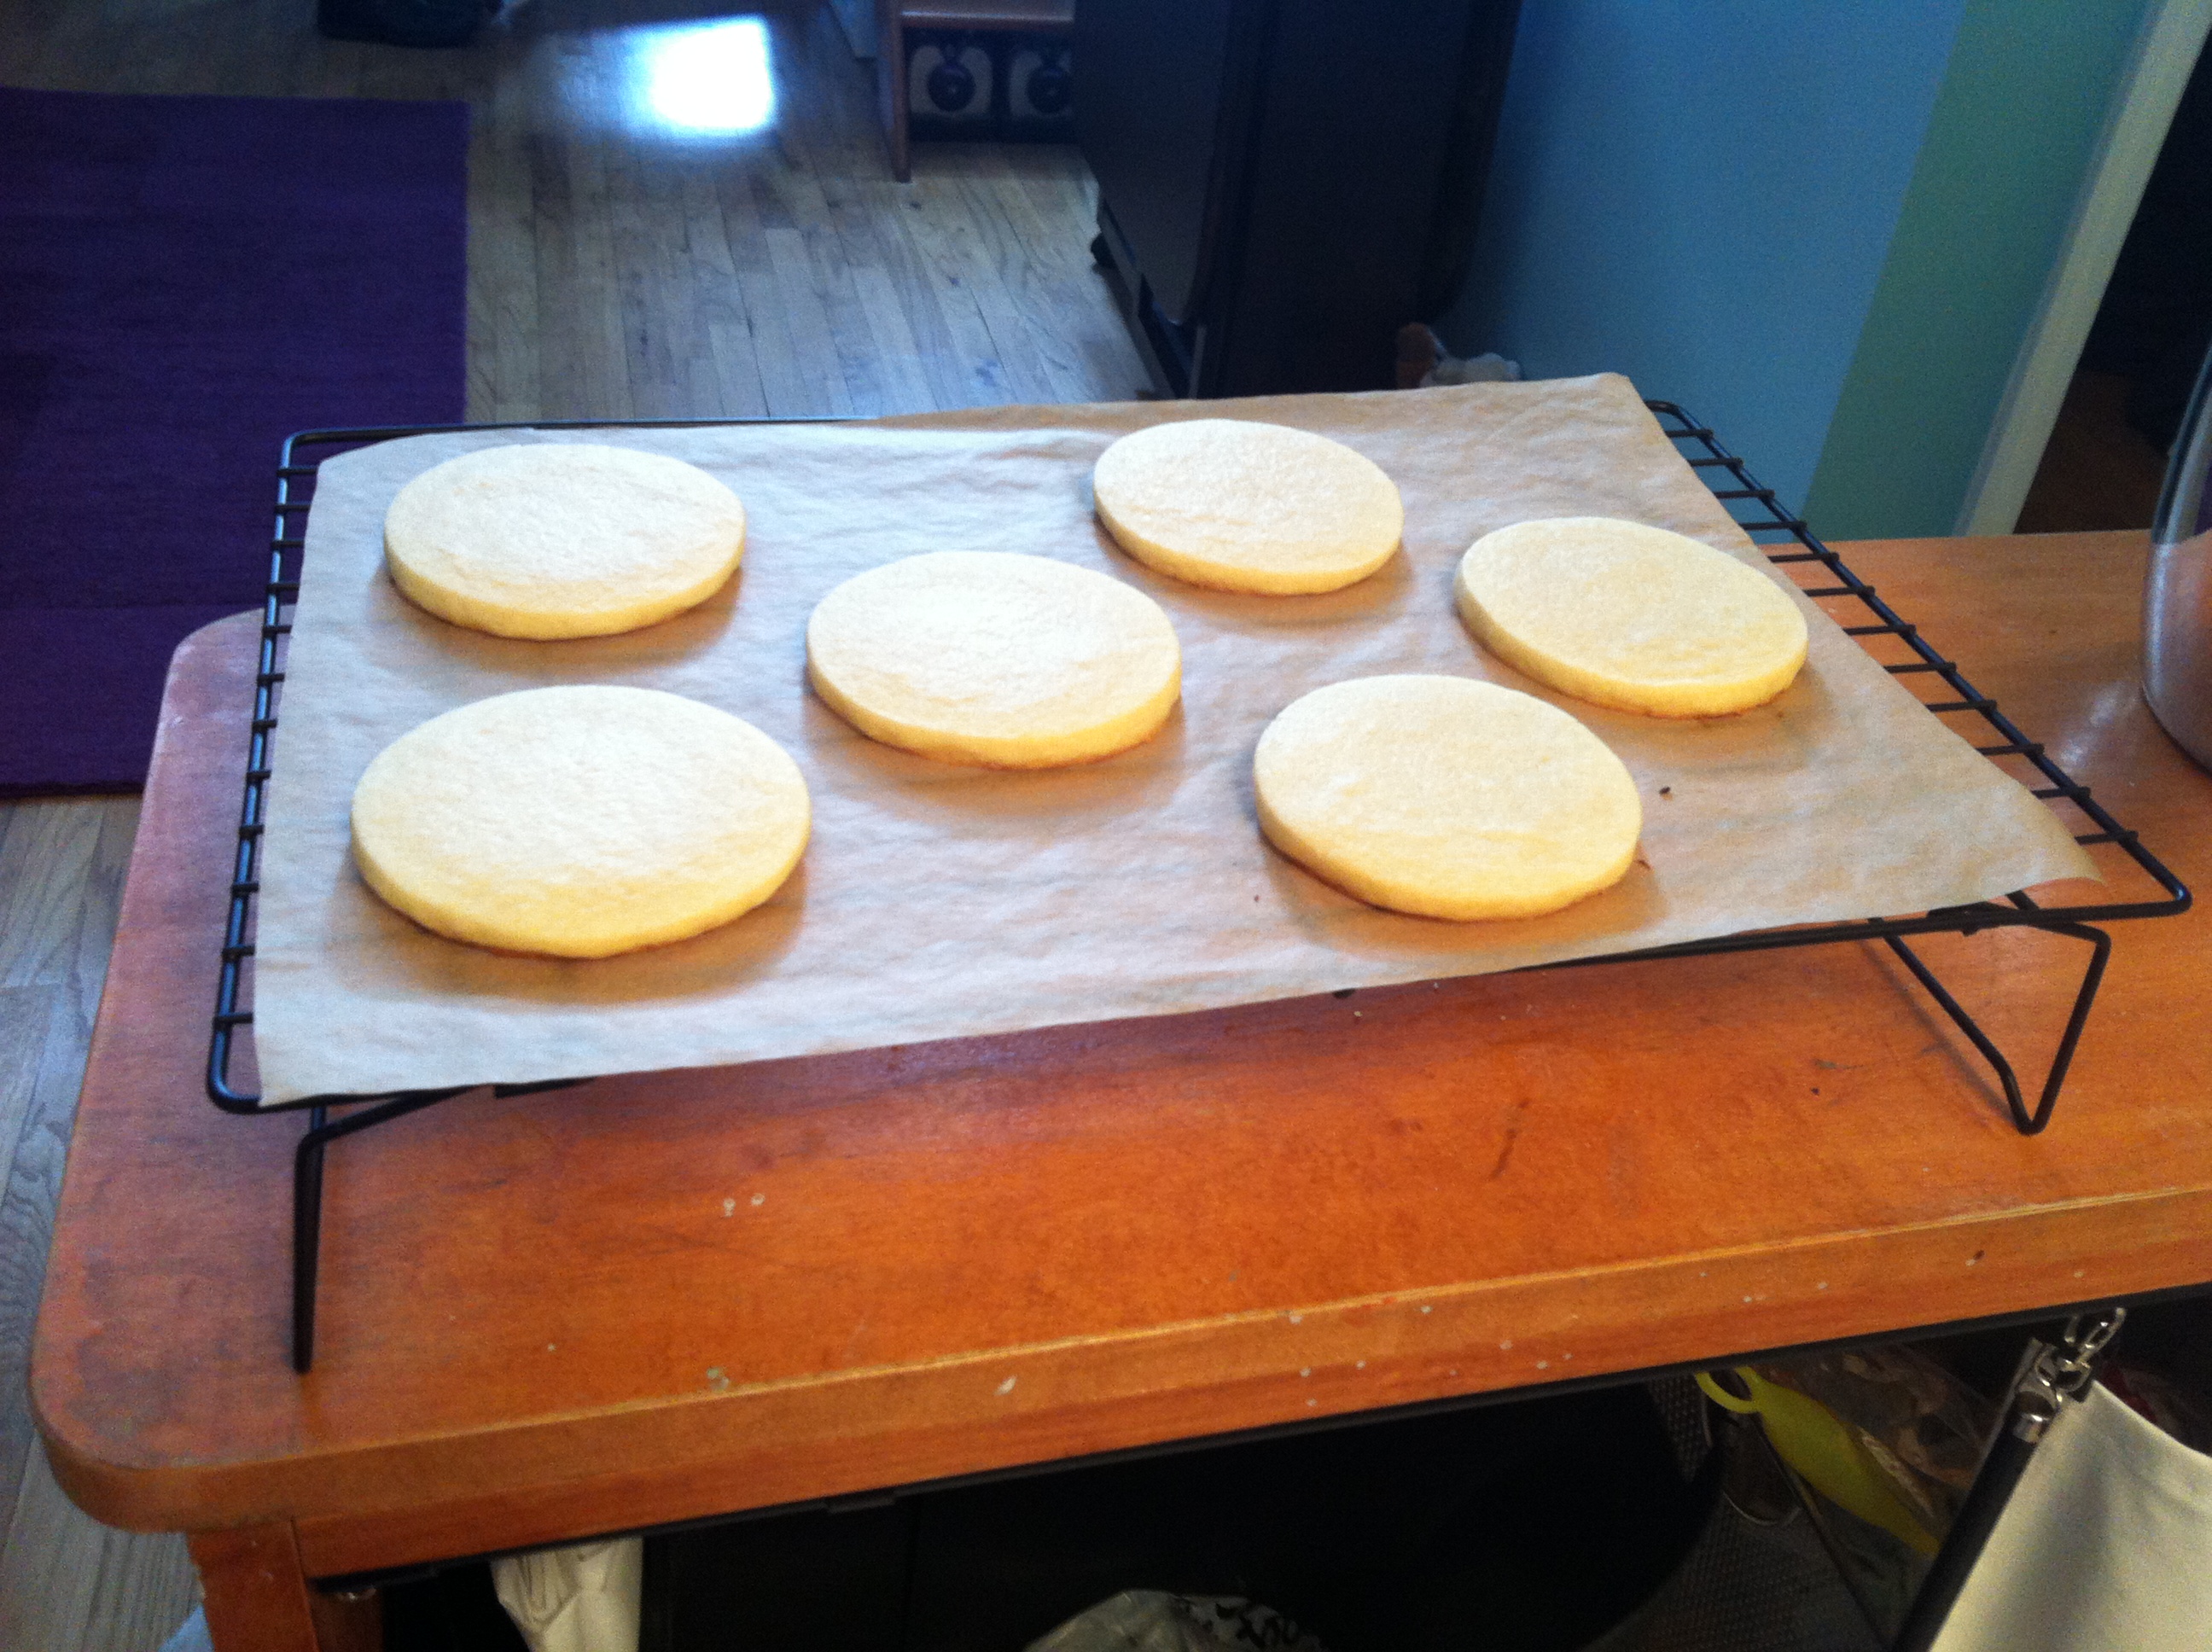
There were hot dogs for days!!! Every surface of my apartment was covered in cookies. Did I mention I made over 200? That’s a lot for a teeny tiny NYC oven to handle.

hotdogs

Woody Allen types up rehearsal notes on an Olympia typewriter he’s used for 50+ years. (Thanks, internet!!) It’s all in the details…

woodycookies

Once these were delivered I slept for 17 hours straight. No joke. It was totally worth it. I was thrilled to get to be a part of such an amazing show’s opening and to support all of the hard work and talent that went into it. Did I mention that you should go see it? BECAUSE YOU SHOULD GO SEE IT.

Since then my cookie adventures have included a baby shower (and birth!), birthdays, congratulations, thank yous, mother’s day and I-don’t-condone-hunting-but-my-father-in-law-insists deer cookies. Screw orange and camo, if I’m making deer cookies they’re going to be pretty.

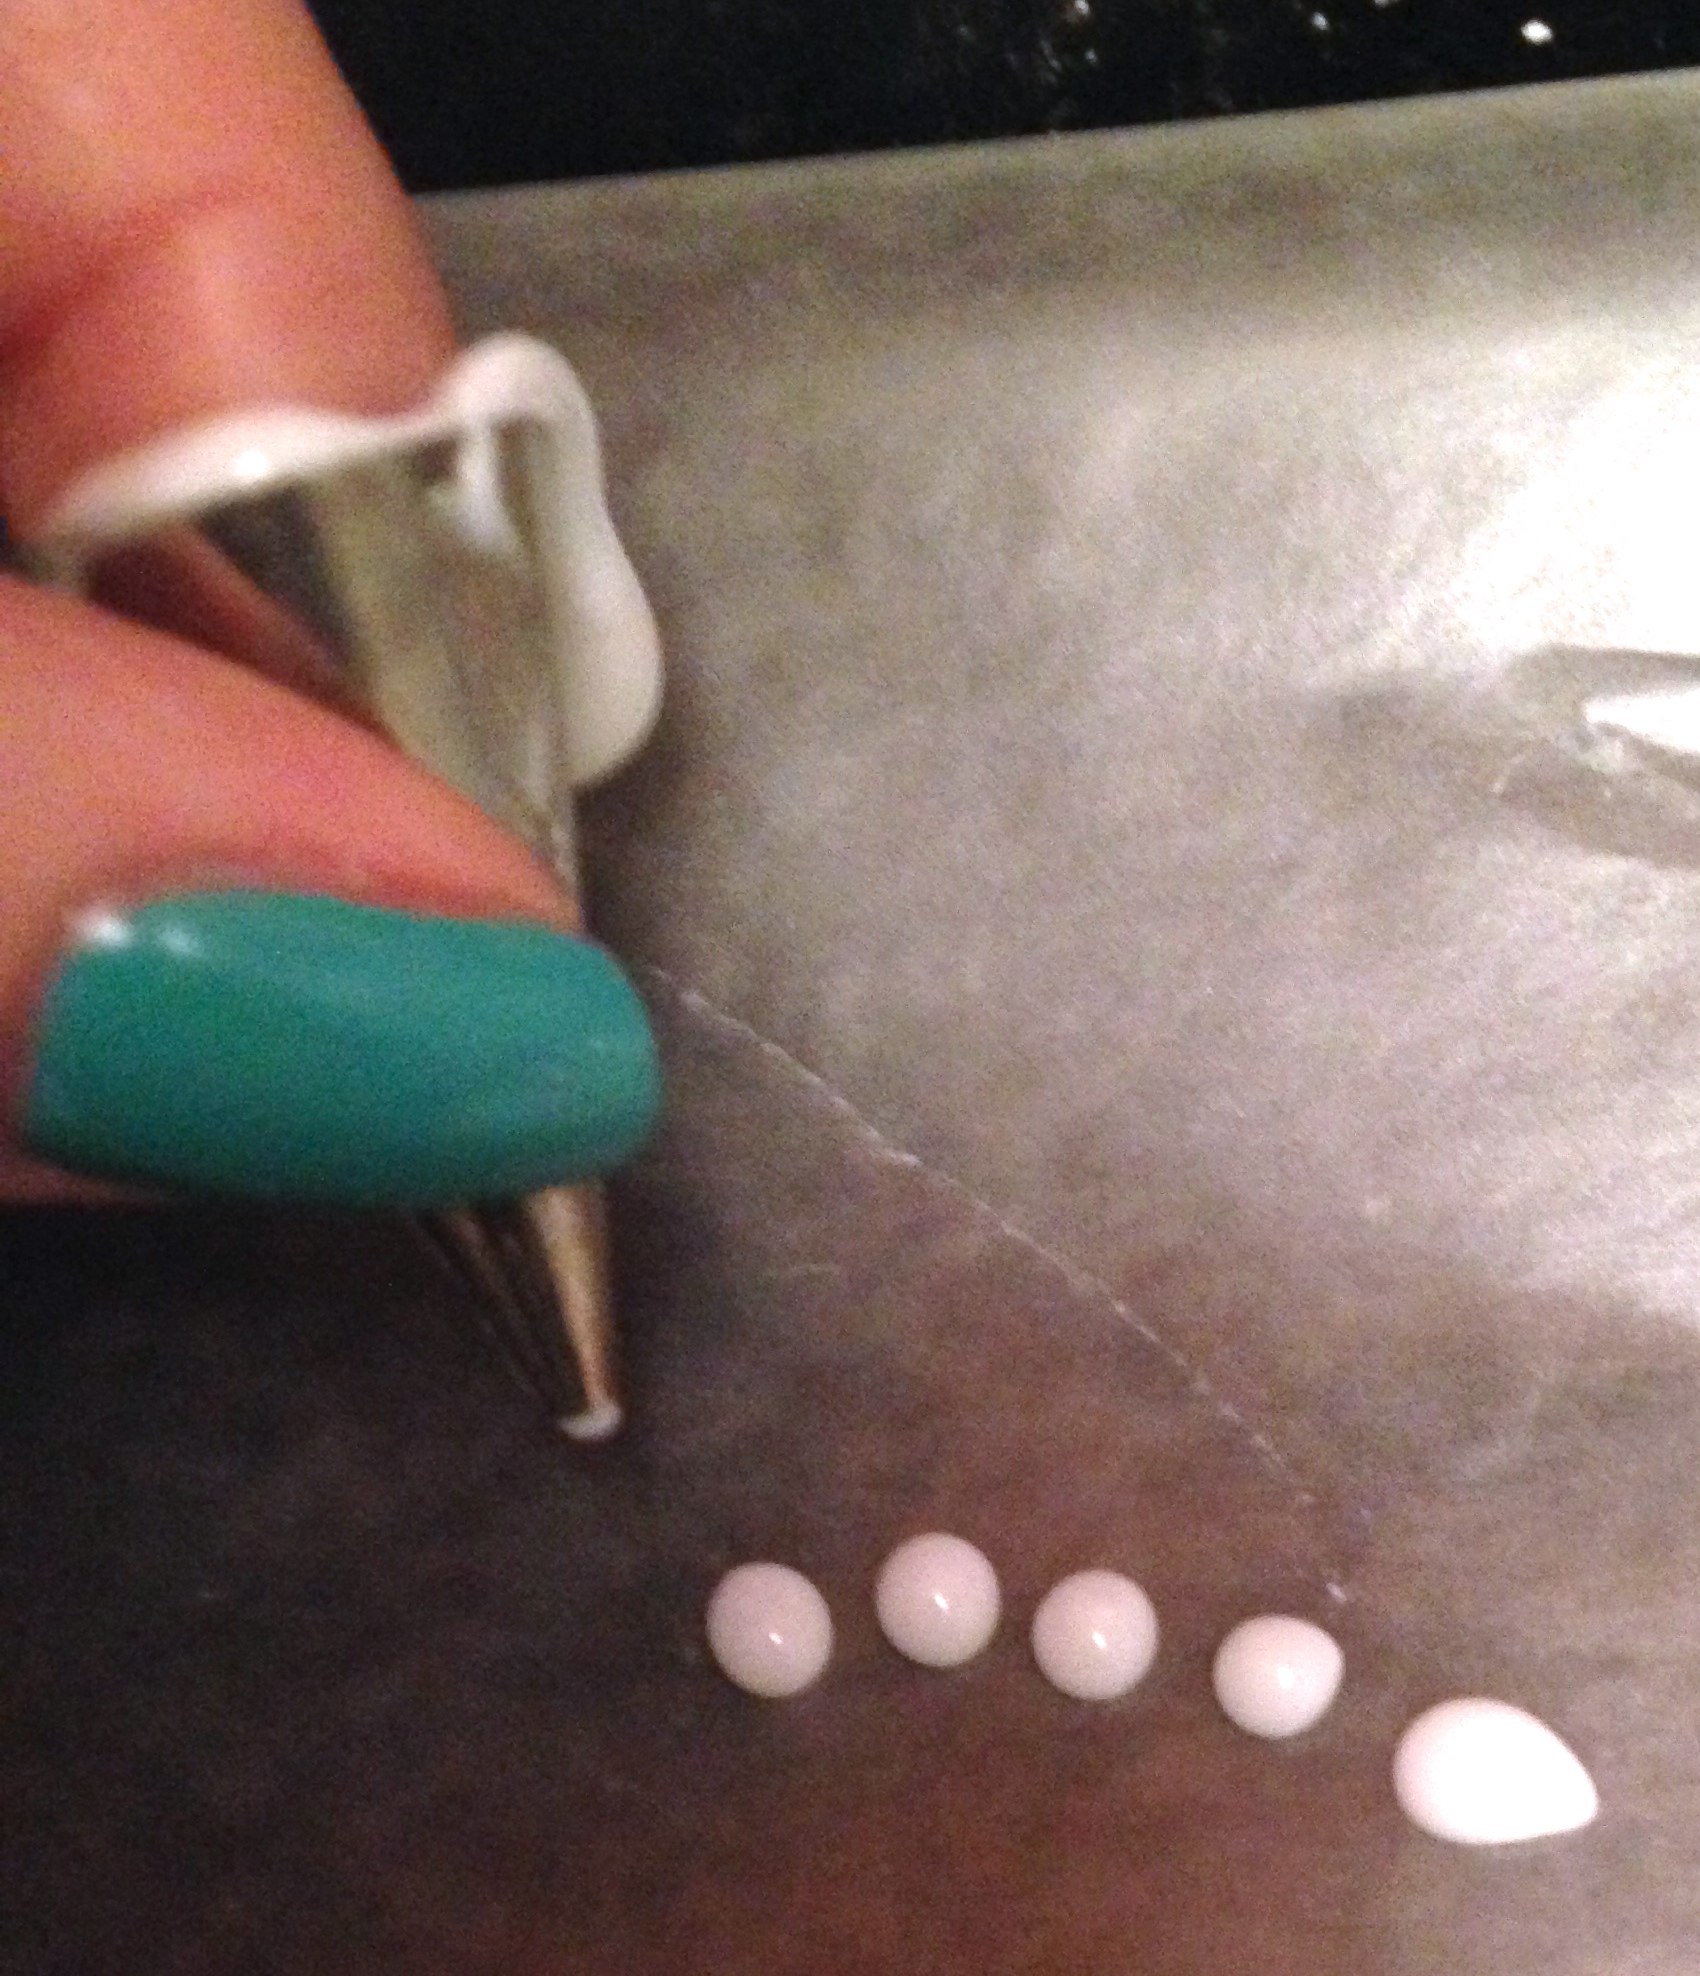
Next time I’ll show some basic piping and flooding techniques!! OO FUN!!!! Peace, love, and cookies to all.

XO

E


Leave a comment

Erin’s “semi-gloss” glaze icing

In the very serious world of sugar cookies, the biggest debate that causes fist fights and prison style shiv brawls is whether to use royal icing or glaze. Everyone has their personal preference and they will fight it to the death!!!

Fine, fine. Cookie enthusiasts are actually as sweet and sugary as you would expect them to be. For real though, there are some things to consider when making this choice. The entire reason I started my journey to make sugar cookies from scratch was because every time I bought a beautiful looking sugar cookie it inevitably tasted like flavored cardboard. I think royal icing may be to blame. I LOVE sugar cookies and that first bite was always such a disappointment! (cue sad Charlie Brown music a la Arrested Development.)  I would say the majority of cookie artists use royal icing because it offers a lot more design freedom to make intricate designs, details, and textures because it doesn’t spread as much as glaze. Seriously, if you’ve never checked out the master works of Sweet Sugarbelle or SweetAmbs prepare to spend hours gawking at their incredible royal icing creations. Maybe some of these other cookiers have managed to create a great tasting royal icing, but my own personal experiments have always been a bit of a disaster. My personal opinion is that glaze just tastes better. The bite is much softer while still hardening enough to stack, it balances the taste of the cookie perfectly, and I prefer the slightly shiny appearance to the flat matte finish of royal.

How does a crazy perfectionist such as myself get the detailed results of royal icing without sacrificing taste? FEAR NOT!! I’ve come to find a solution to my taste vs. design quandary. I use a “semi-gloss” glaze for the base icing and any wet-on-wet designs then I add an ingredient of royal icing to pipe more intricate details and textures. Don’t worry, I’ll explain.

Let’s start with the glaze. It was a little tricky to nail down exact ingredients amounts for this recipe because I honestly throw the ingredients in a bowl following a general ratio and feel it out until I get the right consistency.

Ingredients:

4 c. confectioners sugar (+ extra to thicken icing as needed)

6 tbsp milk (+ extra to thin icing as needed. I use fat free milk)

3 tbsp light corn syrup

1 tsp clear vanilla extract (clear, so it doesn’t mess with your icing color!!)

Throw all of the ingredients in a mixer with the paddle attachment on low to avoid bubbles. You can also mix it by hand! As you gain more experience with the glaze you’ll figure out what consistency works best. Experiment with adding more sugar or milk until you find it. It should be thick enough that it won’t drip off the sides of the cookie but thin enough that the icing will smooth out to an even layer. If you’re going to make wet-on-wet icing designs (see a future post!) you should make it a little bit on the thin side. You can drizzle the icing in your bowl with a fork and judge the time it takes for it to smooth back out. (It’s fun too!!!) It’s tricky to explain, but it should look about like this:

You can also test the consistency by scooping icing into a tip and pushing it through to make dots on waxed paper to see how they behave before you go through the trouble of bagging it.

IMG_9287 - Version 2

In my humble opinion, glaze just tastes SO much better. I also prefer the slightly shiny appearance… but not TOO shiny.  This is where the “semi-gloss” comes in. I use a higher ratio of milk to corn syrup, not equal. More corn syrup makes for longer drying time and the finished product isn’t quite as opaque as I would like. I use primarily milk to thin out the icing and try to keep about a 2 parts milk to 1 part corn syrup ratio.  This gives it the semi-gloss finish I prefer.  If you’re going to draw, paint, or pipe on top of the base layer you should let the glaze dry overnight.

IMG_9299

NOW. For those times I want to pipe details or textures with a little more lift than the glaze I thicken the icing with a bit more powdered sugar then mix in about 1 tsp of meringue powder which isn’t enough to mess with the overall taste of the cookie. It also dries a lot faster like royal, which is great for layering designs! Maybe this is cheating on my glaze, but it was a game changer.

IMG_9364

As I’ve said before, every cookie-ist (I’m going to make up all sorts of words here!) must experiment and find the methods and recipes that work best for them. In the few years I’ve been learning and changing my recipe this is what I’ve come up with to make my best, tastiest, prettiest cookies!

Next time I’ll explain some basics on piping and flooding to get you started cookie-ing!!!! WOOT WOOT! Until next time, peace, love, and cookies to all!

-Erin

(here’s a printable version of the recipe!!)

glazerecipe


Leave a comment

Sugar Cookie Recipe

Alright, all you wonderful cookie loving people out there, as you know the first step in all of this craziness is to BAKE THE COOKIES!!! YAY!!! We’re not talking Pillsbury out of the tube kinda stuff, we want to make our grandmas proud and tackle cookies “from scratch”.  NOW, as with most aspects of cookie-erie, everyone has their own different favorite recipes and techniques that work for them. This is my own personal tried and true recipe complete with Erin style crazypants type A tips that I’ve learned and incorporated into my process in the past few years.


SUGAR COOKIES!

2 1/2 cups all-purpose flour

1 teaspoon baking powder

1/2 teaspoon salt

3/4 cup butter, at room temperature (it’s supposed to be “unsalted” but I always used salted. Sue me.)

1 cup granulated sugar

1/2 cup powdered sugar

2 large eggs

1/2 teaspoon pure vanilla extract

Directions

1: Preheat oven to 400 degrees F. (I use an oven thermometer to be sure the temperature is accurate. My dial is always a weeeeee bit off.)

2:  Sift together the flour, baking powder and salt.  Set aside.

CRAZYPANTS ERIN TIP: I like to mix these dry ingredients ahead of time, sometimes I do an entire bag of flour at a time while I’m at it, then I wrap them in plastic wrap and a gallon Ziploc bag to keep in the cabinet. This saves me time on future batches!

3: Cream together the butter and sugar. (Leave the butter out until it’s room temperature, DON’T MELT IT IN THE MICROWAVE! I’m all for shortcuts, but this one won’t do you any good.) Don’t over cream, just until sufficiently mixed. I usually add the sugar a 1/2 c. at a time. It should look something like this!

Image

4: Beat in eggs and vanilla

Image

5: Add the flour/salt/baking powder mixture.  Mix on low setting until blended.

Image

6: Roll out the dough into “sheets” between layers of waxed paper. (no need to flour the rolling pin or surface AND easier clean up! Score!!)

Image

CRAZYPANTS ERIN TIP: To keep the dough the perfect uniform thickness I like to use strips of 1/4 inch wood on each side to rest the rolling pin on. I got these at Michael’s in the craft wood section and taped them together.

7: Put these “sheets” of cookie dough in the fridge overnight. The longer you chill it the easier it is to work with AND  the less it spreads when baked. This is especially important when your cutter shape has a lot of defined edges and details that you want to maintain.

LAZY ERIN TIP: I’m not gonna lie, in a pinch I’ll throw the sheets in the freezer for an hour or two to speed up the process buuuuut the overnight model is far superior.

8: Cut shapes with a cookie cutter and place on ungreased cookie sheets 1 inch apart. I HIGHLY recommend using parchment paper!! Again, major clean up minimizing and you’re less likely to burn your sugary canvases. (I like to cut an entire roll of parchment to cookie-sheet size with an Xacto knife so I don’t have to worry about cutting them down to size in the middle of my baking process.) I tend to put the cookie sheet in the fridge for a few more minutes before putting it in the oven, they keep their shape better. Combine all scraps, roll out again, refrigerate for a few minutes and repeat until all of the dough is gone.

Image

9: Bake 6-8 minutes (depending on cookie size) in preheated oven. Cool completely. (Did I mention my NYC oven is absurdly small? I hope you can fit a REAL size cookie sheet in your oven.)

ImageImage

That’s my personal process complete with all of the super helpful (though admittedly OCD) tips for efficiency, minimal clean-up/prep time aaaaaaaand the general pursuit of perfection. I realize that I’ve revealed my slightly insane side with all of the extra details, but hey, I warned you.  I hope this post proved to be helpful to someone out there! I’ve attached a more printer-friendly and tip-free version below. (Click on it!) Until next time, peace, love, and cookies to all!

XO

E

Printable recipe